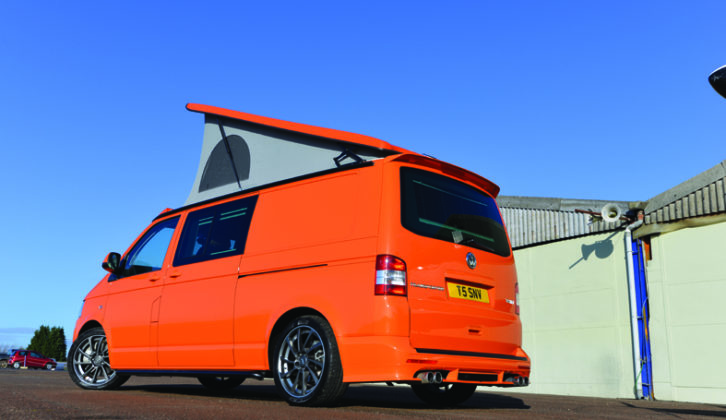
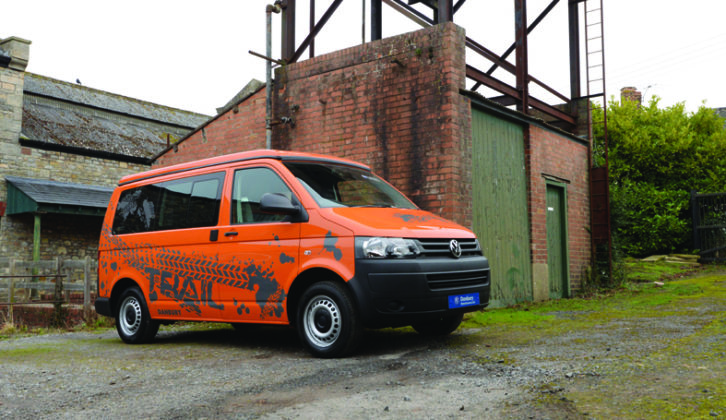
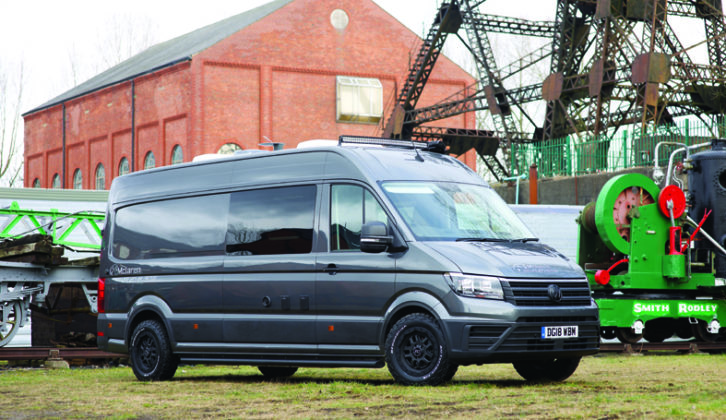
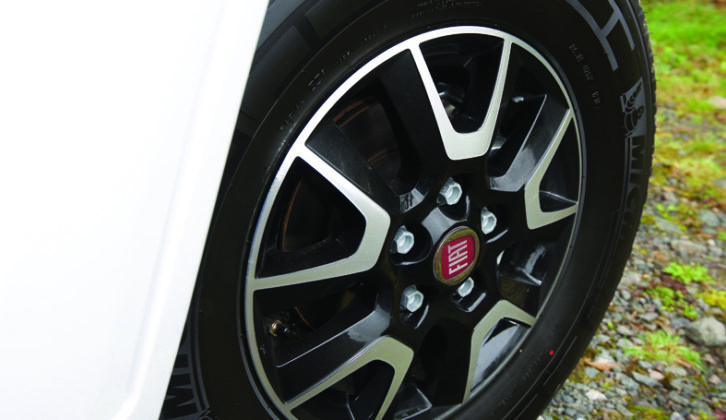
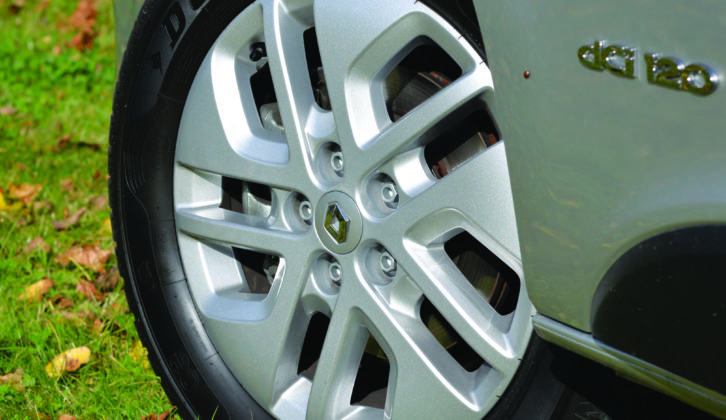
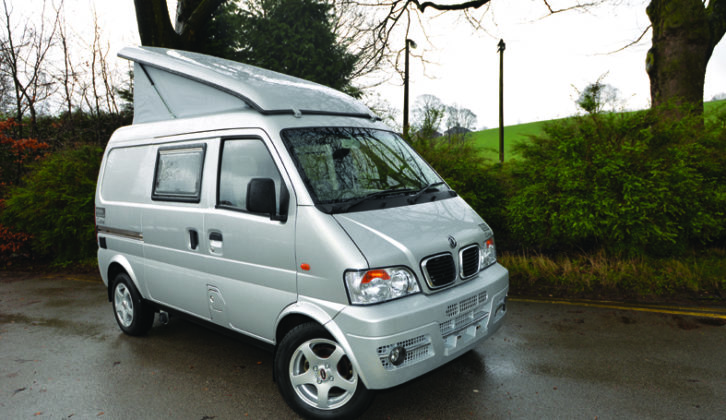
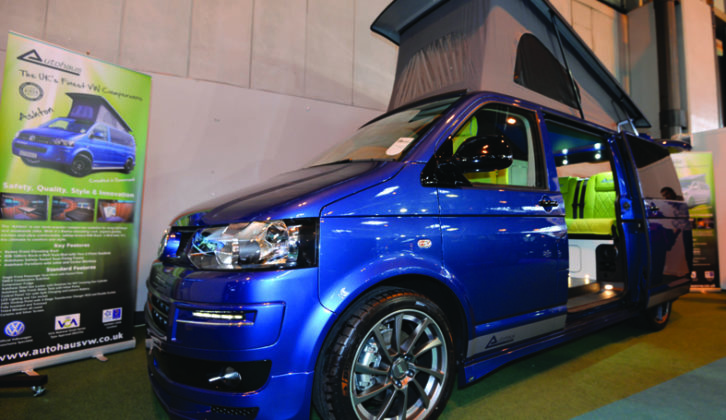
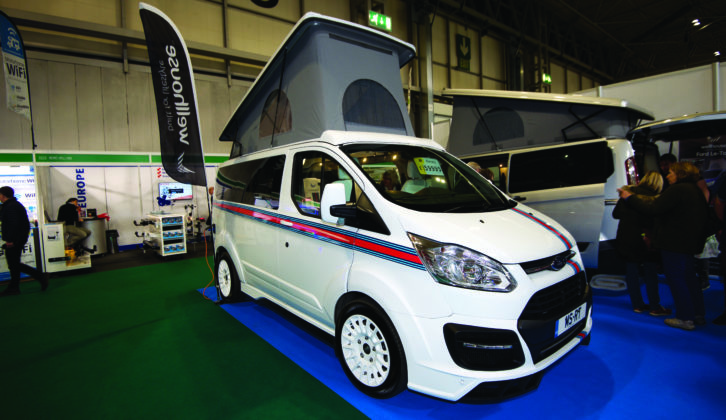
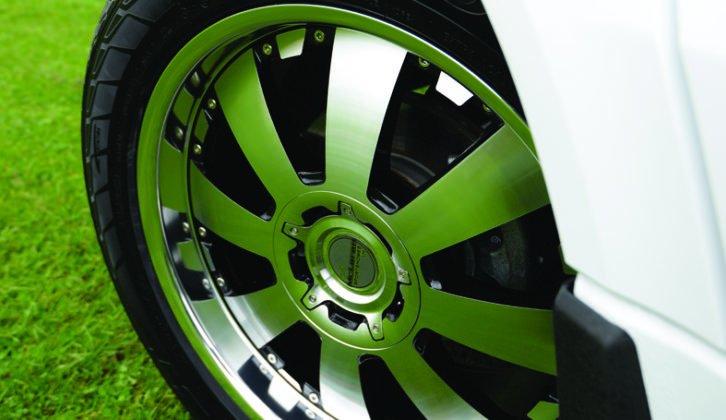
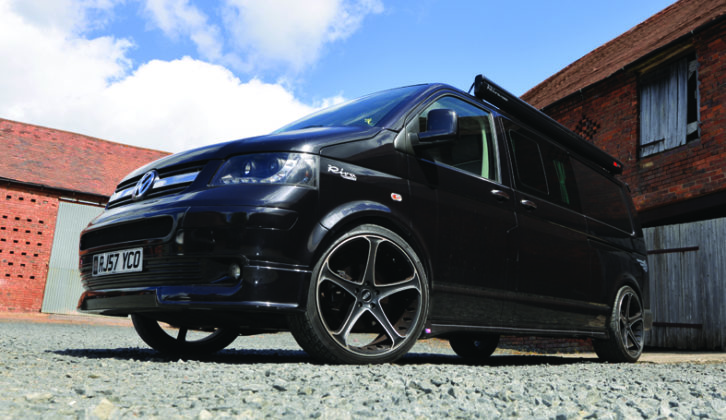
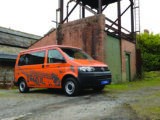
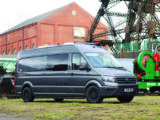
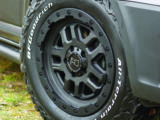
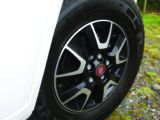
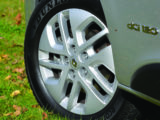
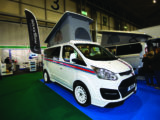
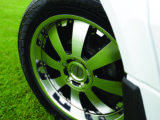
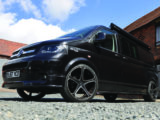
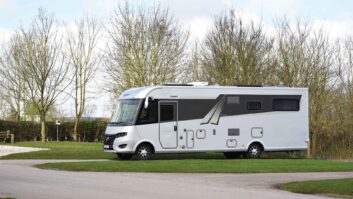
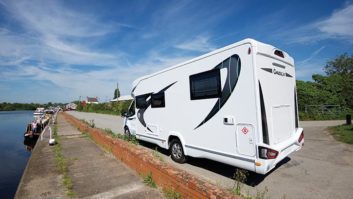
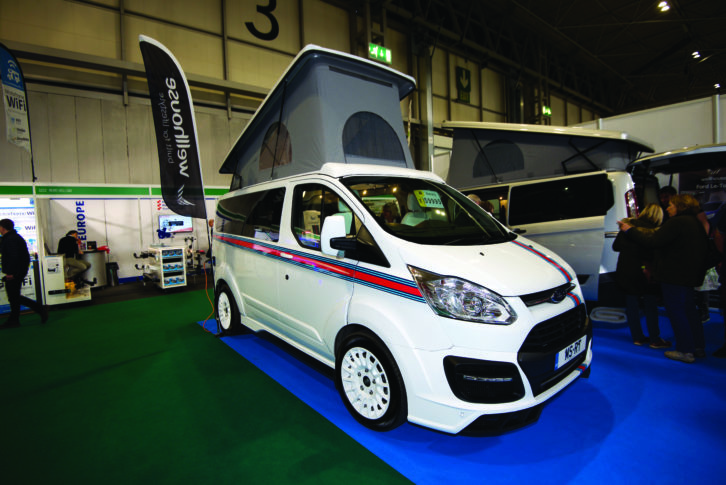
There’s something missing from your dream ‘van. Those boring steel wheels do nothing for its looks. A smart set of alloys adds instant glamour to any motorhome or campervan, and takes less than an hour to bolt on. But first, what do you need to be aware of? Here’s what you need to know about fitting alloy wheels to your campervan.
Why fit alloys?
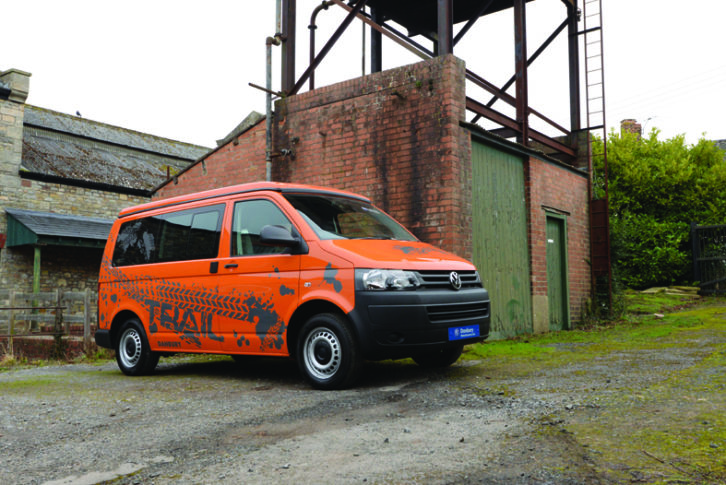
There’s no getting around this – they’re a purely cosmetic addition. Although many manufactures emphasise their lightness, load-rated alloys have to be chunkier than steel, so are thicker, negating the lighter weight. The design of the wheel also dictates the weight; some are fractionally lighter, but not by much.
If you increase the diameter of the wheel, the overall weight will increase, as the ratio of metal to rubber rises. So if you’re thinking of adding 20-inch alloys to your VW campervan to improve your payload, you’ll be disappointed!
However, alloys do have practical advantages when it comes to tyres. If your vehicle has an odd size of wheel that makes tyres hard to source, increasing (or decreasing) your wheel size can allow you a wider choice of tyres.
Many people also fit winter tyres on their old steel wheels so they can use their vehicle safely all year round – and keep road salt away from their gleaming summer alloys.
Tyre markings
Tyres are sized in a mix of imperial and metric numbers. Attempts have been made to metricate them – by Michelin in 1975, with their TRX tyre – but the novelty proved short-lived. So if your Ducato has 225/75-R16 stamped on the tyre sidewall, it means the tread is 225mm wide and the inner diameter is 16 inches.
The ’75’ is the aspect ratio, the height of the sidewall as a percentage of the tread width, so this tyre would have a sidewall that’s 75% of the tread width, 169mm in this case. A lower-profile tyre will have a smaller aspect ratio.
The ‘R’ simply refers to the tyre having a radial construction (older tyres had a different weave of plies – such as crossplies – but most modern tyres are now radial).
Load rating
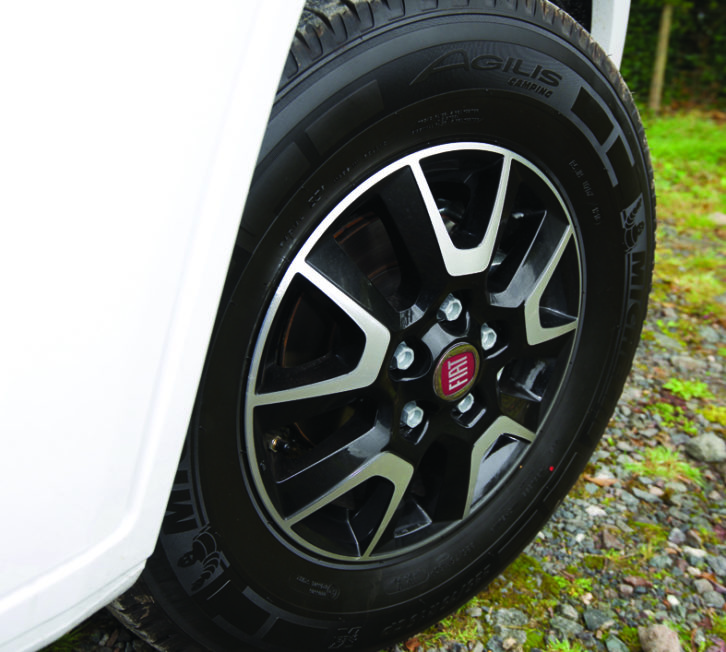
As well as the size, you’ll find other numerals on your tyre – CP 112Q is a common one. ‘CP’ refers to a camping tyre – specifically designed for motorhome use. Those marked ‘C’ are regular commercial tyres. There is no legal requirement to use a camping tyre, but if you can afford it, they’re the best choice.
The ‘112’ is crucial – this is the load index, the capacity the tyre is rated to support. In this case, each individual tyre can support a maximum load of 1120kg, a maximum of 4480kg in the case of a four-wheeled motorhome, 6720kg for a tag-axle.
Never buy a tyre with a lower weight limit than the original fitment. You can go for a higher load rating, but this comes at the expense of a stiffer sidewall, which can make ride quality harsher.
The wheel itself must also be load rated. Check with your supplier that it is rated for your vehicle – they should supply paperwork to support this. Never use car wheels on campervans – they’re not load rated and can fail.
The ‘Q’, the speed rating, needs to be higher than the vehicle’s maximum design speed (Q is 99mph). The later in the alphabet the number appears, the higher the rating.
Mud and snow, or winter?
Many motorhome tyres also have ‘M+S’ stamped on them, for ‘mud and snow’. This means they have some ability in muddy conditions and can tolerate a little snow. It does not mean they’re the best tyre for a trip to Scandinavia, but for most motorhomes, they’re a good choice.
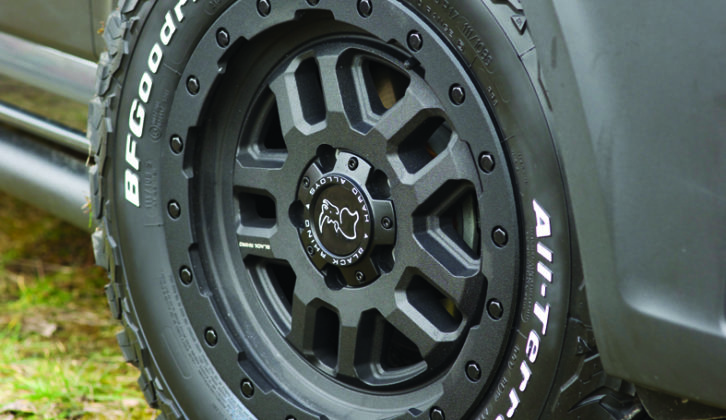
If you use only grass pitches or venture further off paved roads, off-road tyres can cope with mud far better. The downside is that the more aggressive the tread pattern, the noisier the tyre will be on the road and the worse it will handle.
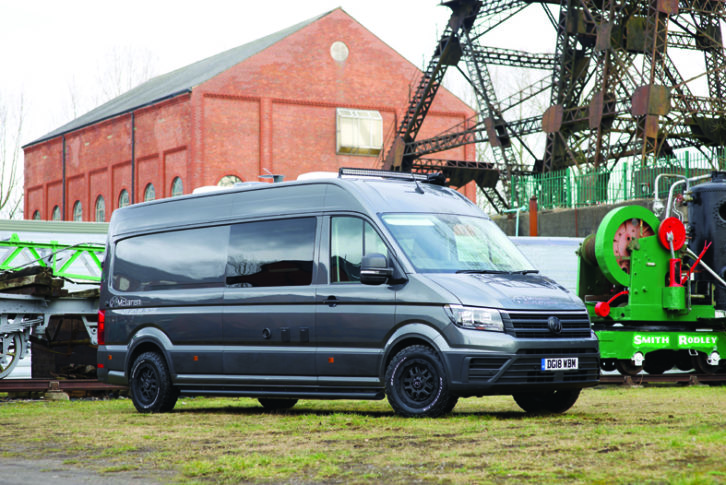
For winter snow, the next step up from an M+S tyre is a winter tyre. Confusingly, some M+S tyres are winter tyres and some are not – consult your tyre maker. Winter tyres use a compound that is designed to stay supple in lower temperatures.
The best tyre for winter use is a winter tyre that carries the Three-Peak Mountain Snow Flake (3PMSF) stamped into the sidewall. This means it meets European standards for cold-weather use.
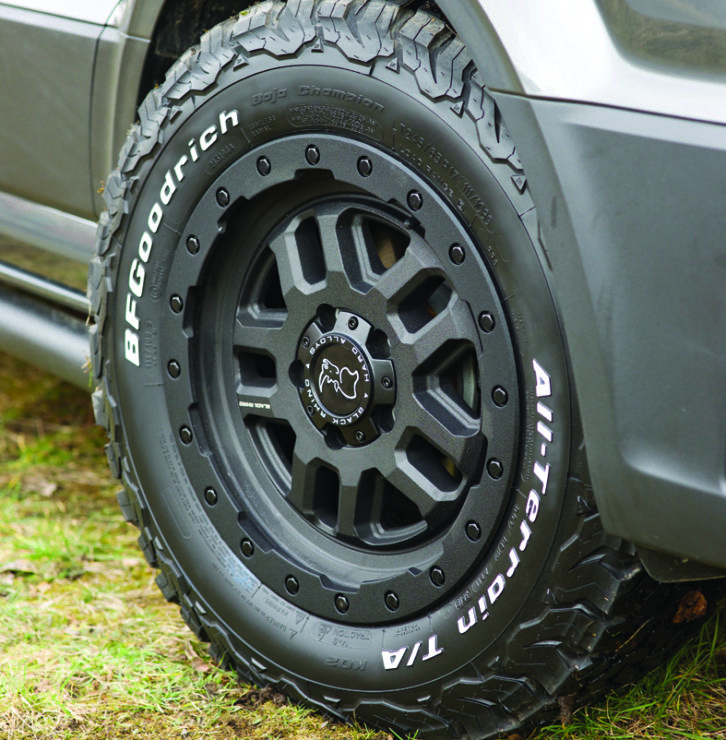
For year-round use, of if you live in Scotland, look for winter tyres marked M+S and 3PMSF. They are suitable for that trip to Norway!
Tyre sizing
Any change in the diameter of alloy wheels has to be accompanied by a corresponding alteration in the tyre size. Larger-diameter wheels require lower-profile tyres to keep the overall circumference the same as the original. This is to keep the speedometer reading the same. If you imagine rolling a ping pong ball for a mile, it’ll do a certain number of revolutions, while a football will complete considerably fewer. So if you significantly increase the circumference of the tyre, your speedo will under-read – this would obviously give you a problem and could cause you to inadvertently exceed speed limits.
This difference in circumference, referred to by tyre makers as the rolling circumference, needs to be kept within 2.5% to avoid your speedometer under- or over-reading. If you search online for ‘tyre circumference calculator’ you’ll find various tools that will allow you to work this out.
If you do go for a much larger-diameter alloy wheel – which will mean a much lower-profile tyre – there’s generally a decrease in ride quality. The lower the profile, the firmer the ride.
Wider tyres also tend to tramline more – they follow the contours of the road and can pull the steering around more. Wide, low-profile tyres are also more prone to causing buckled wheels if you hit a pothole, because there’s less give in the sidewall and more shock load transfers to the wheel. They bend on the inside edge, so damage isn’t always visible without looking underneath the vehicle. Owners of 22-inch alloyed Vee Dubs beware!
Wheel centre bore and PCD
This is the central part of the wheel hub, onto which the wheel bolts. It must fit your alloy wheel perfectly because it takes all of the loads of the vehicle when it’s in motion.
The wheel bolts (or studs, if the hub uses wheel nuts) merely secure the wheel to the centre hub. It’s the centre hub that takes the bulk of these forces, not just the wheel fixings.
For this reason, the centre bore of the alloy wheel must fit the hub perfectly. On a 2020 Ducato, it’s either 71.1mm, or 78.1mm for a Maxi. OE alloy wheels – such as Fiat Ducato original alloys – simply bolt directly onto the hub, but many aftermarket alloy wheels use spacers, called spigot rings, which will allow the alloy wheel to be precisely located on the hub. If needed, these will be supplied along with your new alloy wheels.
As well as the centre bore, the bolt pattern is also crucial. If you imagine a circle bisecting the centre of each bolt head, that is the pitch circle diameter (PCD) and it must be identical for your new wheels. Most Ducatos are either 5 x 118mm (that is, five wheel bolts that are centred around a 118mm diameter circle) or 5 x 130mm in the case of the Maxi. If your vehicle has four wheel bolts, you can measure the PCD directly from the centre of each bolt head – this isn’t possible with five bolts.
What is the offset?
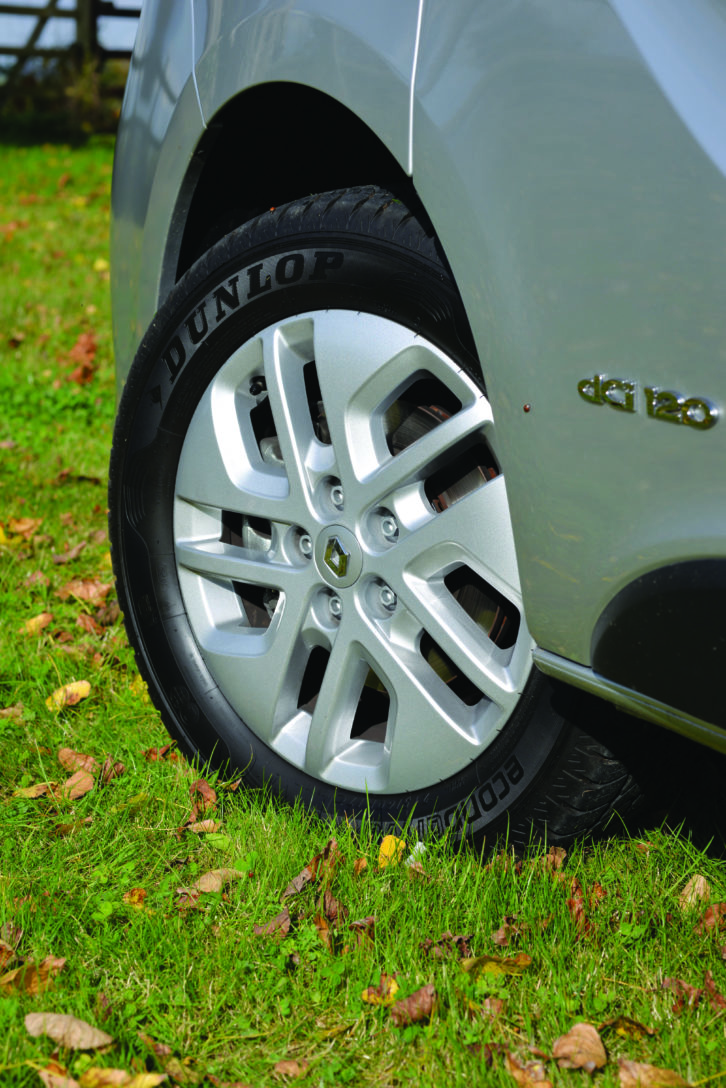
Look at your motorhome head-on from the front; how far the wheels stick out from the side of the vehicle is determined by their offset. Imagine drawing a vertical line through the centre of the tyre tread and bolting the wheel’s mounting face directly to the hub at that point, and that would give you an offset of zero.
Offset is expressed by the ‘ET’ number. These letters stand for the German word Einpresstiefe (insertion depth), which is the industry-standard method of expressing offset.
Offset can be positive – meaning the centre hub of the wheel sticks out further from the hub – or negative, meaning the entire hub sits further in, giving a deeper, dished effect. Typically, front wheel-drive vehicles, such as the Ducato, have positive-offset wheels, usually ET68 on a 2020 model, meaning the wheel hub face is 68mm outboard from the wheel centreline.
The other point to bear in mind is that the wheel width also affects how far the wheel sticks out from the vehicle, even if the offset is the same as the original. If you replace a stock 6in-wide Ducato wheel with a 7in-wide wheel, but keep the offset the same, the wheel will stick out more.
It is generally possible to fit slightly wider wheels and tyres, which can increase stability, within certain tolerances, but it depends on their design. In the case of lowered campervans, this can also affect how the wheels and tyres fit: there are many alloy wheel specialist firms that can advise you on what can be fitted.
The key is to make sure the tyres do not catch on the wheelarches at any point. It’s dangerous and an MoT failure point.
Wheel bolts/nuts
Most alloys use different fixings to steel wheels. Although the threaded section is identical (often M14x1.5) on the Ducato), the head of the bolt might have a different shape. Many steel wheel bolts use a curved section of head, while many alloy wheel bolts have a tapered head fitting. The two can’t be mixed. If you use a curved-head bolt on an alloy with a tapered bolt fitting hole, it won’t seat properly. At best it will scuff the paint off; at worst, it will gouge the material and cause a stress failure over time.
Most alloy wheel suppliers also include new wheel fixings with their wheels – make sure you use them. They must all be torqued up to the specification recommended by the wheel manufacturer, and then double-checked after a hundred miles or so.
Handy hints
One point worth bearing in mind with alloy wheels is that they do tend to stick to the steel hub or brake disc if they’ve not been removed for a long period of time.
This only happens with alloys and is due to them having more material around the hub, and the effects of galvanic corrosion (which naturally occurs when dissimilar metals touch). So if you have a puncture, they might stick in place when the wheel fixings are removed.
It’s really tempting to try to pull the wheel off from the bottom by getting your arms around it: don’t do this, because if the vehicle falls off the jack, you’ll crush your arms. Instead, kick the wheel into the wheel arch with your foot. Kick the tyre, not the wheel, and it will eventually come loose. You could also try a rubber mallet; those used for tent pegs are ideal.
To avoid the wheel sticking to the hub in the future, you can apply a thin smear of copper slip (or ceramic brakepad paste) to the hub area.
Take great care not to get any excess on the brake disc or pads and keep it well away from the wheel bolt/studs, because it will affect the wheel fixing torque setting. Never grease wheel studs, nuts or bolts.
Don’t forget to tell your insurance company you’ve swapped wheels, too. In most cases it won’t make any difference to your premium.
Finally, don’t forget about your spare wheel – it’s always worth buying a fifth alloy so you have a matching set of you suffer a puncture. Check it will fit your spare wheel carrier, though.
Speak to your supplier
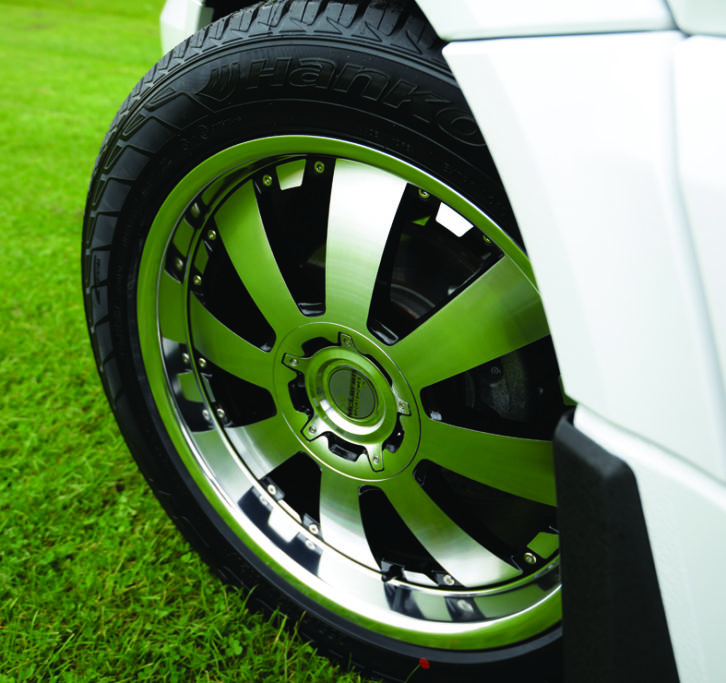
There are lots of firms that have done the legwork for you and know the wheel and tyre sizes that will suit your vehicle best. Ask your local dealer or alloy supplier for recommendations. If your tyres are a bit low on tread or your wheels need refurbishing, it’s a great time to swap to alloys – most suppliers will do package deals for tyres and wheels bought together. The right alloys really make your vehicle look the part.
If you liked this… READ THESE:
How to fit a tyre pressure monitoring system
How to choose a van conversion
If you’ve enjoyed reading this article, why not get the latest news, reviews and features delivered direct to your door or inbox every month. Take advantage of our brilliant Practical Motorhome magazine SUBSCRIBERS’ OFFER and SIGN UP TO OUR NEWSLETTER for regular weekly updates on all things motorhome related.
Future Publishing Limited, the publisher of practicalmotorhome.com, provides the information in this article in good faith and makes no representation as to its completeness or accuracy. Individuals carrying out the instructions do so at their own risk and must exercise their independent judgement in determining the appropriateness of the advice to their circumstances. Individuals should take appropriate safety precautions and be aware of the risk of electrocution when dealing with electrical products. To the fullest extent permitted by law, neither Future nor its employees or agents shall have any liability in connection with the use of this information. You should check that any van warranty will not be affected before proceeding with DIY projects.
There are lots of firms that have done the legwork for you and know the wheel and tyre sizes that will suit your vehicle best
