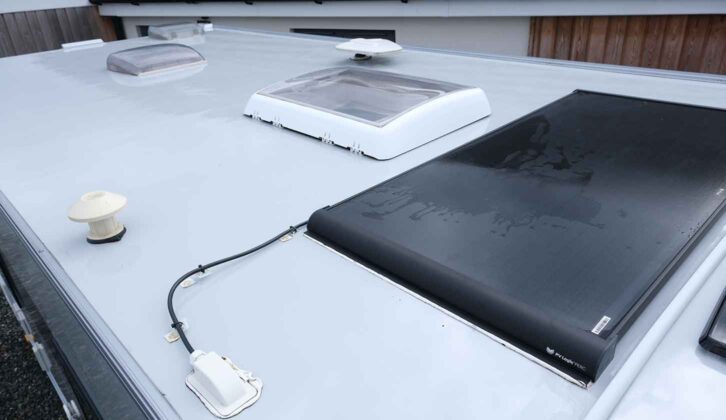
We may not think about them very often but the roofs of our motorhomes can be the dirtiest part of a ‘van, with bird droppings, tree sap, road grime and algae all taking their toll. As a result, cleaning a motorhome roof is an important maintenance task.
The longer you put off the job or leave the dirt ingrained, the harder it will be – just as it would be with any job associated with cleaning a motorhome. A methodical approach is going to be the secret to achieving a sparkling roof – and with that in mind, I went to Suffolk to watch Andrew E clean the roof of his one-year-old Adria.
Luckily, it was a cool, dry day – the ideal conditions for motorhome roof cleaning. Once you’ve got a sparkling exterior, you can start thinking about winterising a motorhome if you’re not intending to tour during the colder months.
Practical Motorhome is supported by its audience. When you purchase through links on our site, we may earn an affiliate commission. Learn more.
How to clean a motorhome roof – a step-by-step guide:
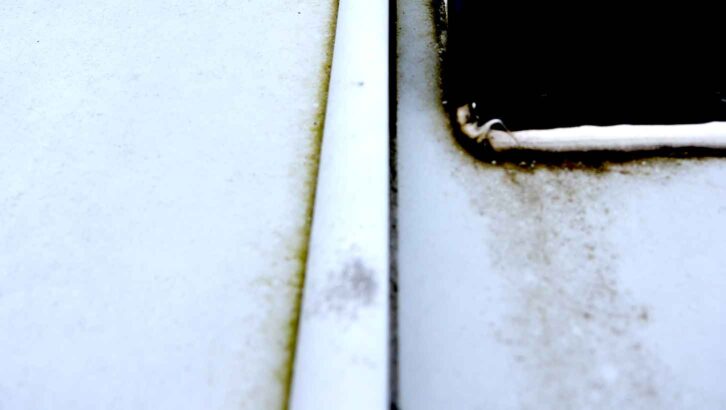
1. Algae, road grime and bird muck can be tricky to remove, especially if they’ve worked their way into tight gaps which can be tricky to reach. To begin, make sure that the ’van is safely chocked, with the handbrake on.
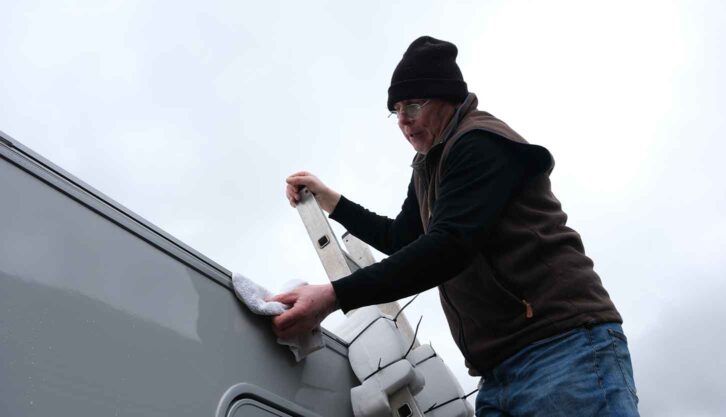
2. A ladder is almost certainly going to be required for the job – I’d recommend a large stepladder with a wide base. I use a Henchman myself, which I’ve always found incredibly stable. However, Andrew opted to use some foam packaging left over from a recently purchased television to protect the roof edge of his ‘van from the aluminium ladder he’s using.
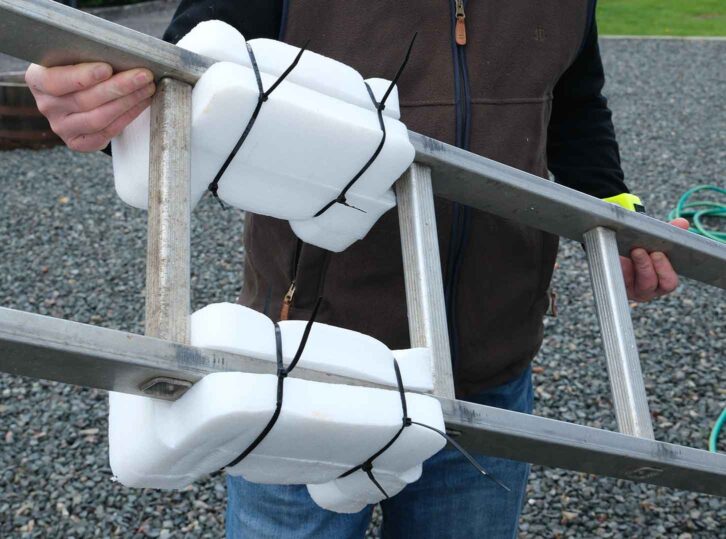
Watch out for any wobbling and denting of the side of your ‘van if you’re using a general stepladder. Make sure it’s stable and you’re using it on level ground which is solid. I’m quite wary of walking on the roof of a ‘van, so we’ve stuck to cleaning from ladders in this guide.
3. Wash the roof in easily reachable segments, without leaning or stretching too far – instead, move the ladder as required. After all, falling, even from 6ft, will hurt.
4. Give the roof a soak to help loosen and soften the dirt. Leave it for a few minutes to get to work, and in the meantime, start preparing your foam cleaner.
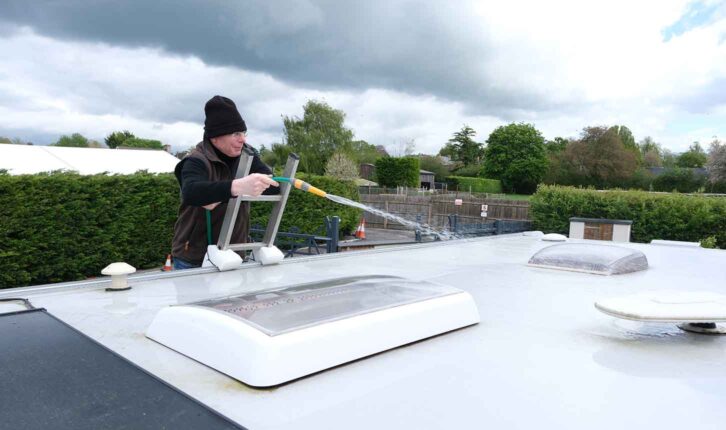
I’d advise using one of the best motorhome cleaners, such as Fenwick’s Motorhome Cleaner, to make the job simpler.
Don’t use a high-pressure hosepipe or a pressure washer – not only could this damage the sealant but it could also result in water getting into your motorhome’s interior.
5. Many professionals will recommend using a microfibre mitt instead of a sponge – this is because a mitt is more likely to remove dirt, while a sponge can rub the dirt back into the surface you’re cleaning, subsequently resulting in micro scratches.
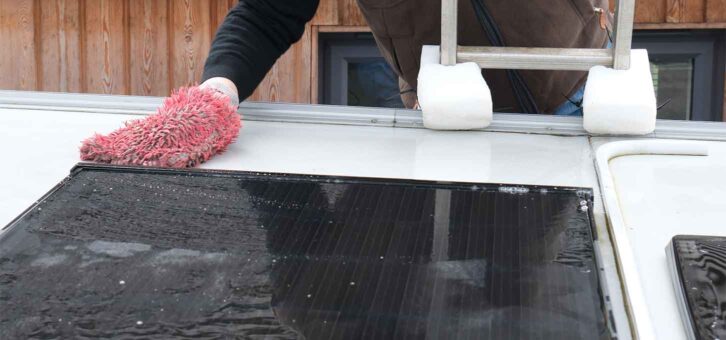
6. Using a short-handled soft brush will provide you with plenty of control, letting you focus on achieving good results in smaller spaces, as well as reach further. It can also help you achieve a good finish on more fragile surfaces such as a solar panel.
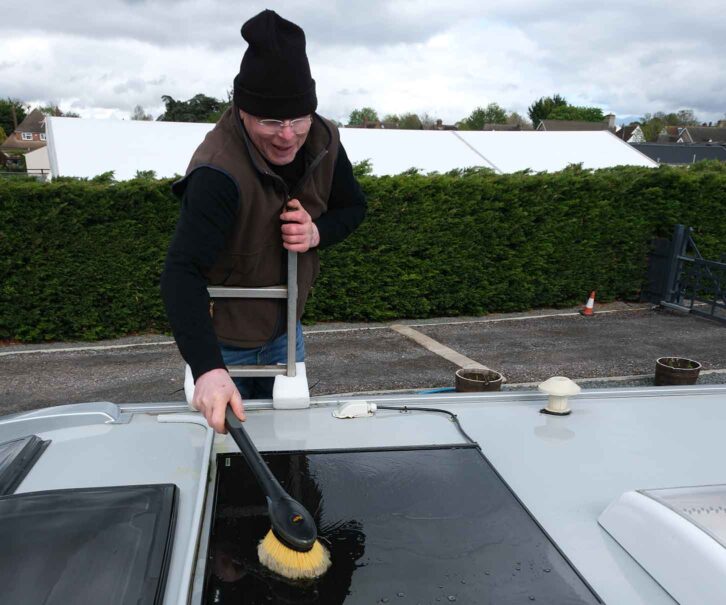
7. After soaking and shampooing the roof, it’s time to turn to reach for your long-handled brush – with this, you can reach across and to the middle of the roof.
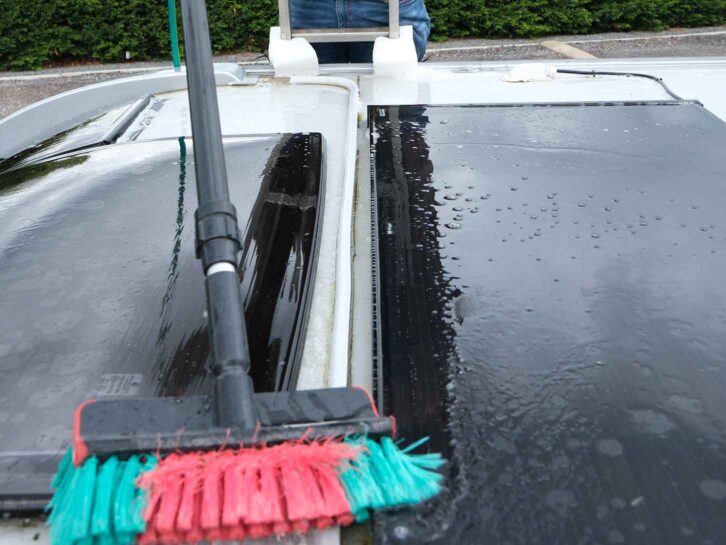
8. Andrew’s brush had the option of being attached to a hosepipe, providing a constant flow of water during the cleaning process.
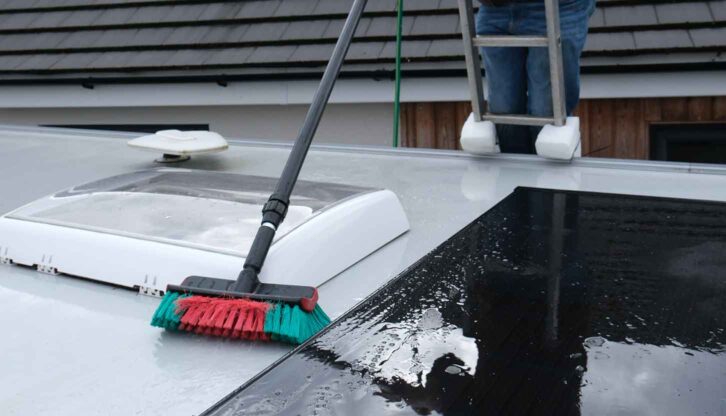
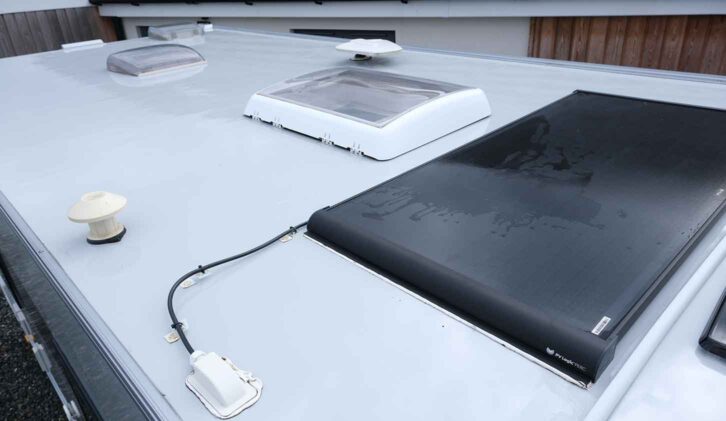
9. Depending on how dirty it was, cleaning a solar panel could improve its performance by a few percentage points, if not more.
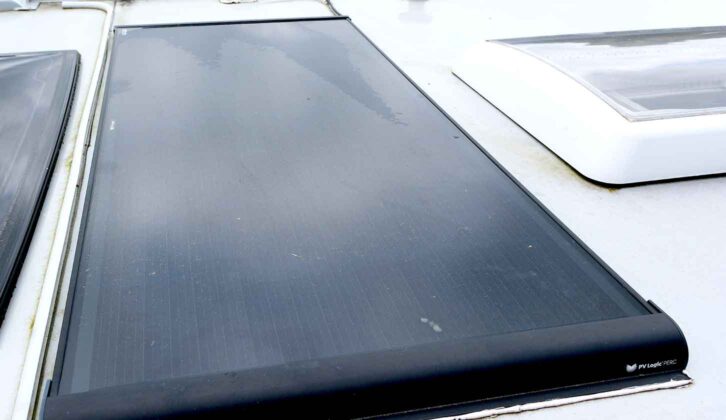
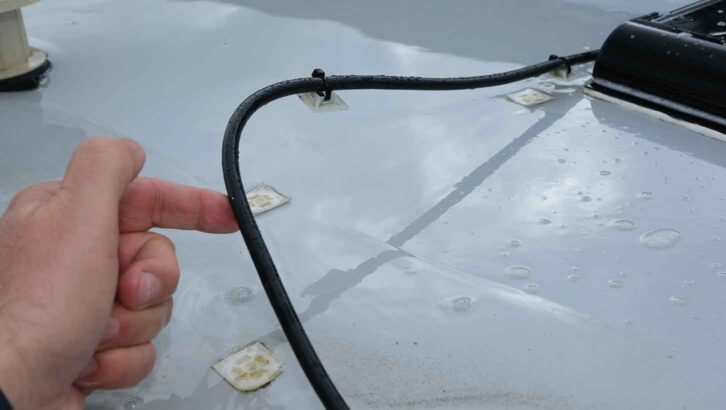
10. Cleaning the motorhome roof also allowed Andrew to identify the solar panel cable was detached, something which can be repaired at the first annual habitation service that the Adria ‘van undergoes.
11. Andrew now used the hose to rinse the remaining loose dirt off of the roof, chasing it from the sides of the ‘van and successfully getting rid of some light black streaking in the process.
This part of the process can be a good time to apply a post-season cleaning product which can slow the regrowth of algae, as well as limit the appearance of black streaks. A popular option among ‘van owners is Wet & Forget.
Last but not least, the loose dirt which had gathered in the channels of the ‘van was wiped off.
12. It’s only taken an hour or two, but the result is a sparkling roof. Now, you can use a bit of wax polish or a ceramic sealant, such as Diamondbrite, to maintain your ‘van’s shine for that bit longer, as well as help to make the cleaning process easier in the future.
Having successfully carried out the task of motorhome roof cleaning, your ‘van is now ready to cover – if you’re not sure why this important accessory, we explain why you need a motorhome cover.
Future Publishing Limited, the publisher of Practical Motorhome, provides the information in this article in good faith and makes no representation as to its completeness or accuracy. Individuals carrying out the instructions do so at their own risk and must exercise their independent judgement in determining the appropriateness of the advice to their circumstances. Individuals should take appropriate safety precautions and be aware of the risk of electrocution when dealing with electrical products. To the fullest extent permitted by law, neither Future nor its employees or agents shall have any liability in connection with the use of this information. Double check any warranty is not affected before proceeding.
If you’ve enjoyed reading this article, why not get the latest news, reviews and features delivered direct to your door or inbox every month. Take advantage of our brilliant Practical Motorhome magazine SUBSCRIBERS’ OFFER and SIGN UP TO OUR NEWSLETTER for regular weekly updates on all things motorhome related.
