This month, Jack gets cracking on making the Sherpa’s interior a little more comfortable and a bit more pleasing to the eye. And all for as little dosh as possible!
Sourcing materials
Before attempting to improve the soft furnishings we had to source some suitable material – preferably for free or for as little cost as possible.
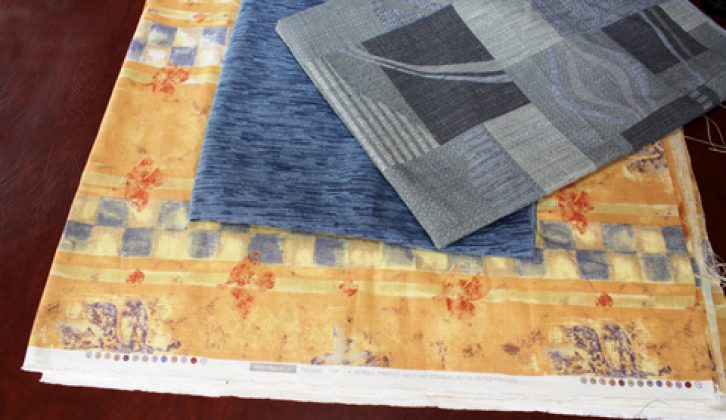
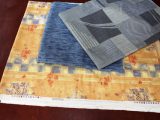
The picture (right) shows what [tl:gallery index=1 size=215×129]we’ve managed to acquire over the past six months. The blue and grey patterned material was from a new Autocruise ’van and was bought as surplus. Expect to pay under a tenner for a pair of new lined curtains and some upholstery fabric.
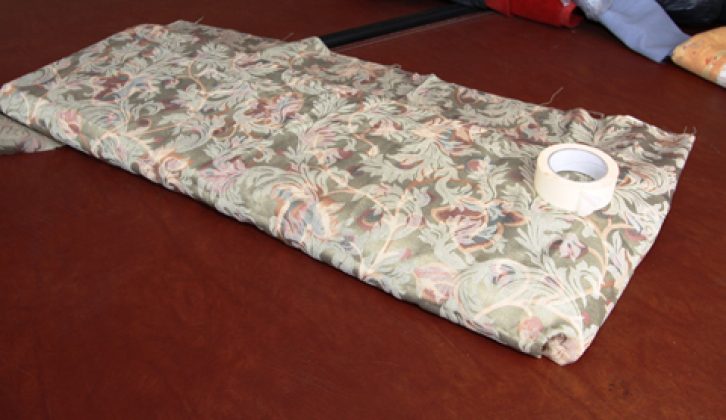
The bottom multi-coloured piece was a real find. We bought it from a charity stall at a car boot sale. It’s proper upholstery fabric, not lightweight curtain or dress material. It is an unused remnant that is large enough to allow us to reupholster all of the seat cushions and cab seats. And the cost? Just £2 – what a find!
Be creative
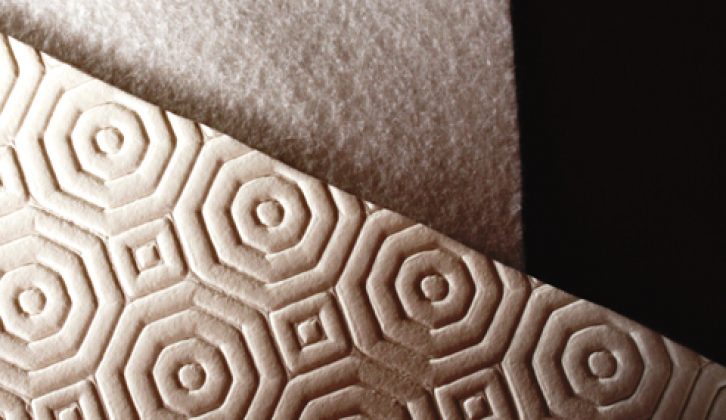
This material is a much cheaper [tl:gallery index=2 size=215×129]alternative to using foam and Dacron when retrimming panels such as door cards. It is actually used as a protector to go underneath tablecloths and is sold off the roll in any market. We bought enough to put underneath the fabric on all four door cards for £6.
One person’s rubbish…
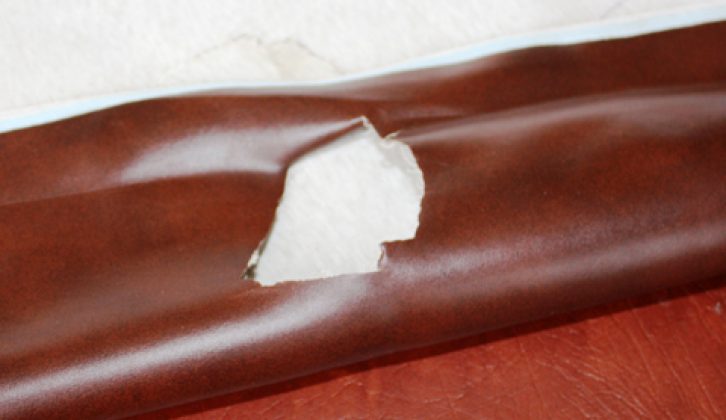
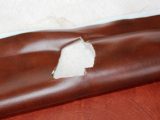
Finally, Kate wanted a wipe-clean [tl:gallery index=3 size=215×129]cover material on the rear cards and we found this by skip-diving outside an automotive trimmers. It is a damaged roll of brand-new PVC ambla cloth – we can work around the holes. This cost us nothing, but you must always ask the business for permission to remove anything from a skip. I did and they also gave me a load of other stuff that was destined to be chucked away: the business owner was just pleased that it wasn’t going to a landfill.
Top tip: Two good places to find top quality pre-owned fabrics are jumble sales and school fêtes. Only attend those in ‘posh’ areas. Here, you’ll be able to get a bundle of expensive ceiling-to-floor curtains for a few quid or less. Frequently, they will have been made out of material costing £50 or more per metre. Cut off the narrow sun-faded strip at each end and what you’re left with is top quality material and lining ready to be re-made into whatever you need.
Flush out the system
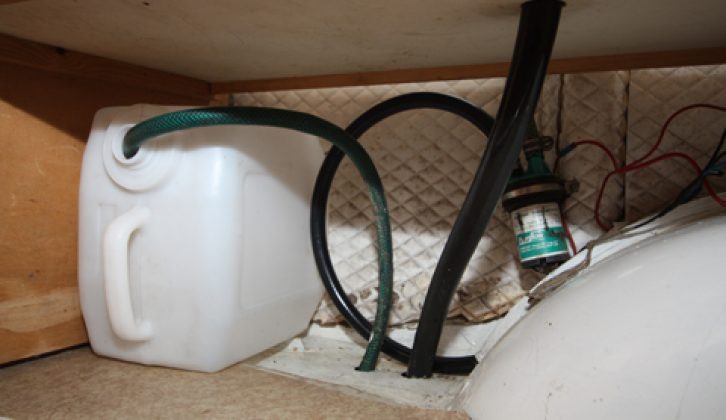
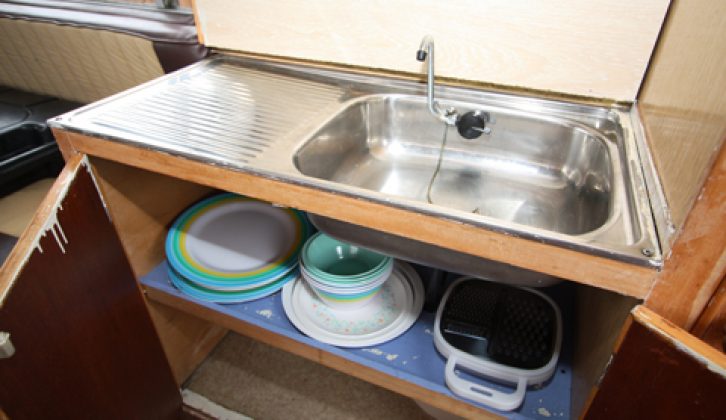
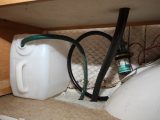
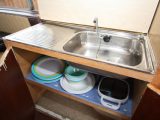
[tl:gallery index=4 size=215×129]The sink only needed a good clean. The pump didn’t work at first, but has been fine since last month’s rewiring job. We were a bit suspicious of how hygienic the connecting hoses are, though. The plan is to replace these with proper food-grade piping eventually (one part of the piping looks like a piece of garden hose!). For now, we pumped a solution of Milton sterilising fluid through it and filled[tl:gallery index=5 size=215×129] the pipes, blocking each end with wine corks. We left the solution in the piping overnight to sterilise the system and then rinsed it through.
Peanuts would have originally been fitted with a fresh water tank but it’s long gone. Instead, for now, Kate and Kyle are using a water porter that a friend was throwing away.
Cleaner curtains
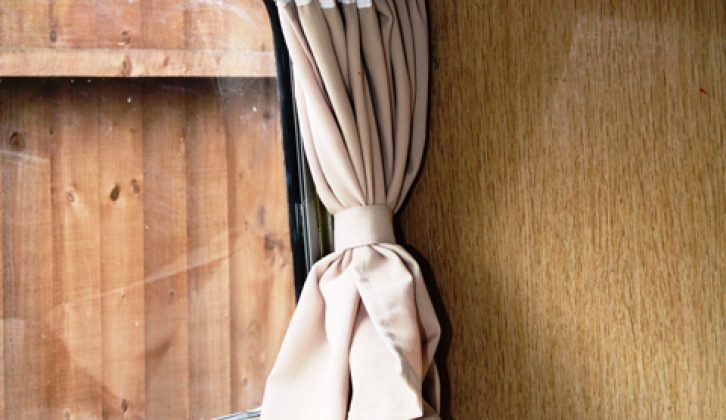
Peanut’s curtains are not the [tl:gallery index=6 size=215×129]most stylish, but there’s nothing wrong with them and all they needed was a good wash. We also bought a few replacement gliders for the curtain rails above the side windows, and re-tensioned some of the wires holding up the curtains over the rear doors. There’s also a hole here where the rear cupboard should be. We’ll work on getting this sorted in time for next month.
Quick jobs
Some jobs only take five minutes from start to finish: replacing a shoot bolt on one of the seat squabs was just such a task.
Jack says…
We’re continuing to have great fun with our starter ’van. I’ve enjoyed ‘tinkering and titivating’ (especially when I don’t have to spend much money) and Kate and Kyle have had several fantastic trips away in her already.
How to recover cushions without any upholstery skills
One of my hobbies is traditional antique upholstery. I’m into teasing horsehair in a big way, but for retrimming Peanuts you don’t need to know a ‘box pleat’ from a ‘bridal tie’. It is easy to cheer up a tired interior with no more effort or skill required than it takes to wrap a Christmas present. Here’s how:
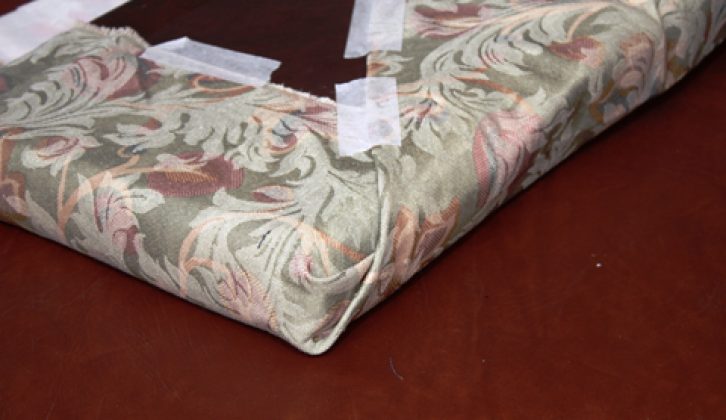
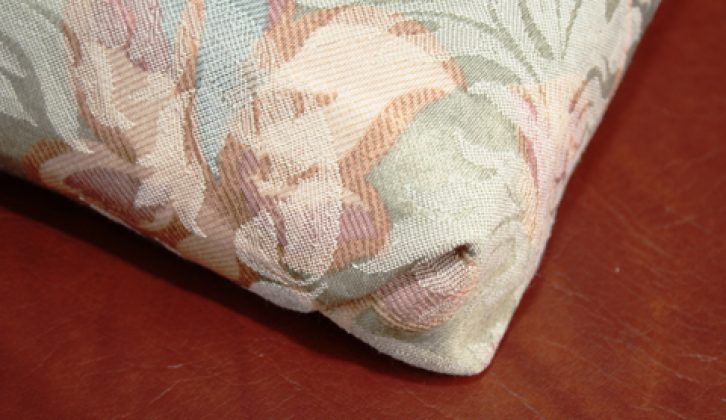
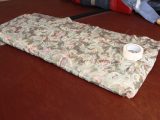
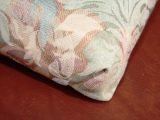
[tl:gallery index=7 size=215×129]1. First, place the material over the top of the cushion to be covered. Make sure the pattern is the right way up and centred. Next, fold over the edges and corners as if gift-wrapping a parcel.
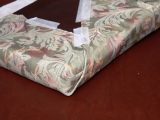
[tl:gallery index=8 size=215×129]2. Temporarily secure this with wide masking tape. Don’t use anything stronger than this or it may leave adhesive on the fabric or cause damage when you try to remove it.
[tl:gallery index=9 size=215×129]3. When happy with the result, secure it permanently to itself or to the previous covering. A good tool to use is high-tack cloth tape (similar to gaffer tape), although you can use carpet fitters’ aerosol adhesive (dries in seconds) or staples if the back is wooden. Even better, though, is elasticated thread (the type used for smocking) and a large, curved needle. Sew opposite edges of the material to each other using a simple sacking stitch, or you can make your own stitch up – after all, nobody will see it. The elasticated thread will keep the cover under tension, too.
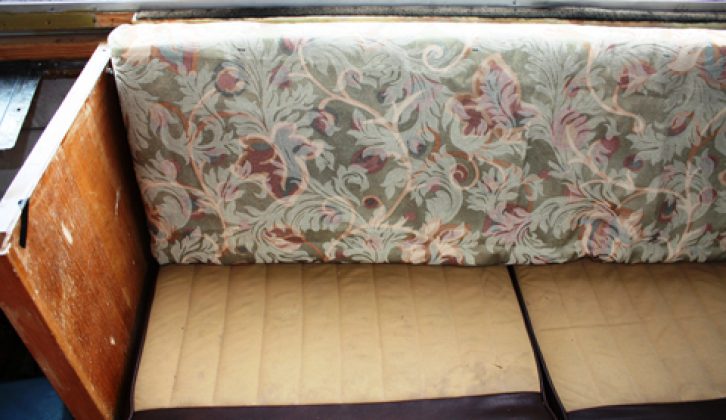
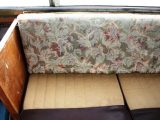
[tl:gallery index=10 size=215×129]4. Pour yourself a large G&T and admire your handywork. You can already see what a difference clean, tidy upholstery makes to a tired campervan – and remember, this lot cost next to nothing.
To do list
Shake down DONE
Urgent mechanical repairs DONE
Mechanical safety check, lubrication service DONE
Habitation safety check DONE
Repair elevating-roof DONE
Service & refit gas/12V equipment DONE
Fit new rear door cards
Refinish cabinetwork
Soft furnishings upgrade DONE
Bodywork make-over
Safety equipment upgrade
Power upgrade 230V & 12V
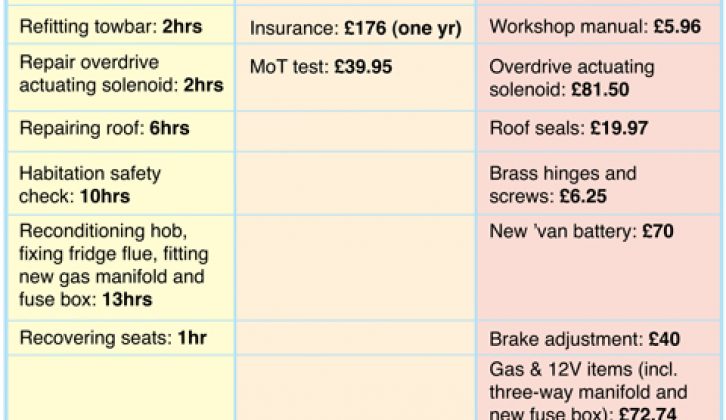
[tl:gallery index=11 size=480×434]
Missed the earlier articles? Click on the links below to catch up:
- Part 1: buying a van – your options
- Part 2: more buying tips and insurance
- Part 3: safety check, towbar and rear step
- Part 4: essential roof repairs
- Part 5: making safe old DIY horrors
- Part 6: refitting the hob, fridge and some wiring
